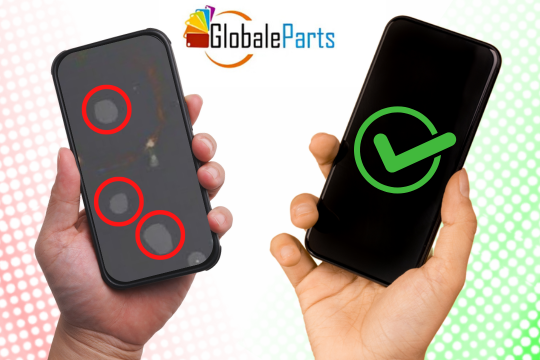
Applying a screen protector might seem like a small task—but if you've ever ended up with air bubbles or dust underneath, you know how frustrating it can be. At Globaleparts, we believe your iPhone deserves a crystal-clear screen every time. Here’s a step-by-step guide on how to put a screen protector on an iPhone without bubbles—perfect for beginners or pros.
✅ What You’ll Need:
-
Screen protector (from Globaleparts, of course 😉)
-
Microfiber cloth
-
Dust removal stickers or tape
-
Alcohol wipe (usually included)
-
A clean, dust-free workspace
-
Patience and steady hands
🔧 Step-by-Step: How to Apply a Screen Protector Bubble-Free

1. Clean the Screen Thoroughly
Use the alcohol wipe to remove smudges, oil, and fingerprints. Then wipe it dry with the microfiber cloth. Dust is your worst enemy here—so take your time.
2. Use a Dust Removal Sticker
Even a speck of dust can cause bubbles. Use the dust sticker or a small piece of tape to dab away any remaining particles. Hold the phone under a light to spot tiny specks.
3. Align the Screen Protector
Before peeling off the backing, line up the protector to your iPhone screen to get a feel for placement. Make sure the cutouts match the camera and speaker areas.
4. Peel and Apply Slowly
Peel off the backing carefully—don’t touch the adhesive side. Begin from one edge (usually the top) and slowly lower the screen protector onto the screen. Use a card or the included squeegee to press it down from the center outward.

5. Push Out Any Bubbles
Use the cloth or squeegee to gently push any air bubbles to the edges. If they don’t go away easily, lift that corner slightly and reapply.
6. Final Touch-Up
Wipe down the screen again, check the edges, and enjoy your bubble-free iPhone screen.
🛒 Shop Quality Screen Protectors at Globaleparts
Protect your iPhone the right way. At Globaleparts, we offer durable, ultra-clear screen protectors made for every iPhone model. Easy to apply. Long-lasting protection. No bubbles.


